front license plate installation
1,000+ results for “front license plate installation”
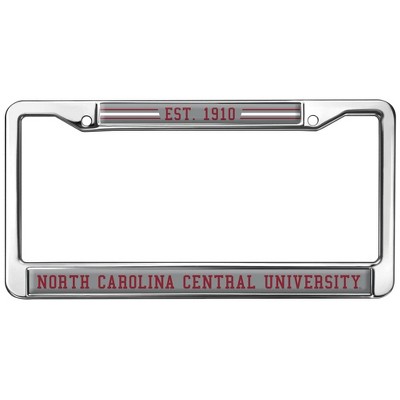





$24.99
reg $37.49
Sale


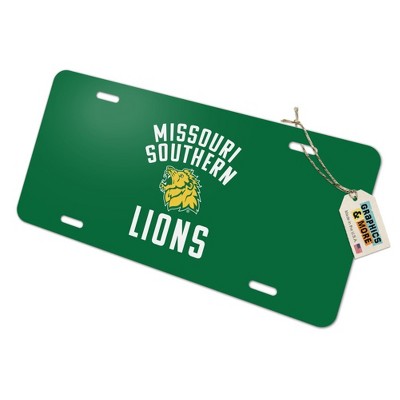

$24.99
reg $37.49
Sale
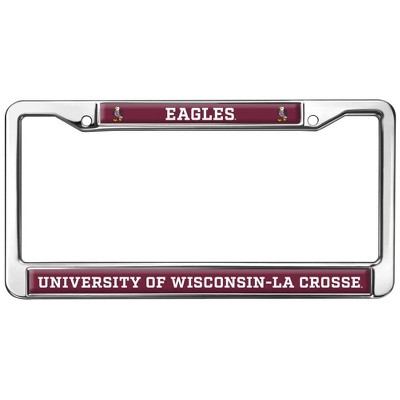
$21.99
reg $24.99
Sale

$24.99
reg $37.49
Sale
Sponsored

$21.99
reg $24.99
Sale









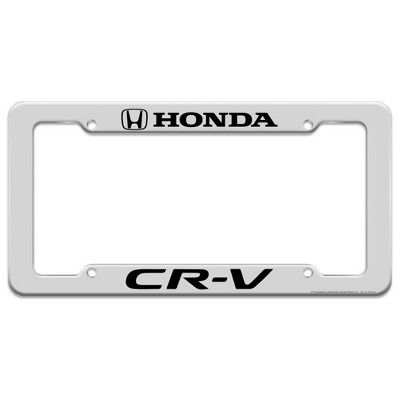

Sponsored
Powered by AI
Guests also ask:
Related searches
- removable front license plate bracket
- no drill front license plate bracket
- front license plate adapter
- undermount license plate bracket
- license plate frames front bumper
- mount for front license plate
- personalized front license plates
- license plate mount for front of car
- licence plate holder for car
- license plate relocation
- license plate bracket
- baby trend car seat installation without base
- glacier bay shower rod installation
- split mini air conditioner installation
- mitsubishi eclipse stereo installation kit
- graco modes pramette travel system car seat installation
- ring video doorbell pro installation
- gorilla license plate
- tr european license plate
- pioneer double din stereo dash installation kit