Sponsored


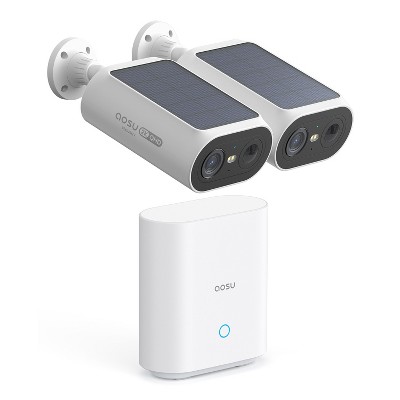
aosu 3K 5.0-MP Outdoor WirelessCam System Max with 2 Cameras and 4-Channel HomeBase Recorder, C6S2AH11 in White
In Stock
At a glance
Sponsored
About this item
Highlights
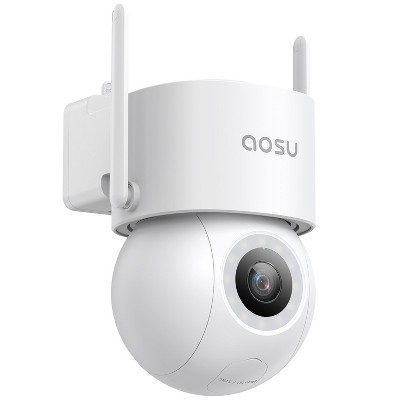
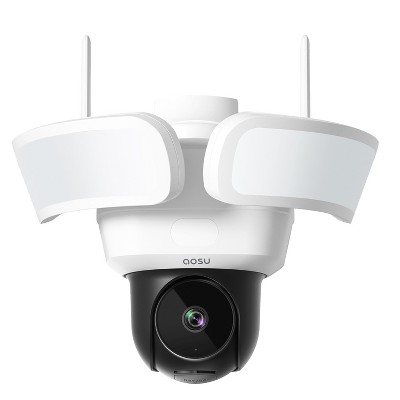
- built-in spotlight provides brilliant night vision to ensure your home security
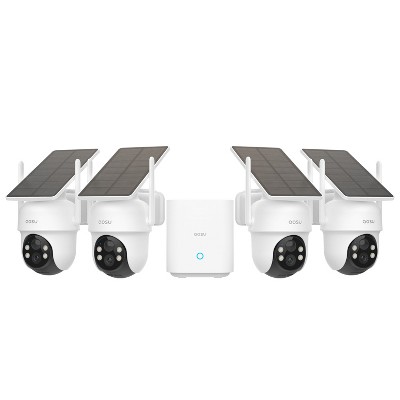
- Cover every corner - 100% wireless for fast, easy, and flexible installation; 166° super-wider angle guards your home without a blind point; system can support up to 4 cameras being viewed on 1 screen so no corner is missed
- Securer smart alarms - using advanced motion detection technology, a smarter notification will be sent to your phone, such as “There is motion,” “Someone is staying”, or “someone is passing”; notification includes picture preview which helps you quickly respond to it
- Long-lasting battery - get up to 240 days of battery life on 1 charge for the security camera, and enjoy flexible, wire-free easy installation (battery life per charge is based on lab data: 40 events per day and 10 seconds of recording length each; actual duration varies depending on recording frequency, video length, and light and siren trigger frequency)
- No monthly fee, 32-GB local storage - built-in 32-GB EMMC storage on HomeBase, free to play back and download every motion detection video which happened during the last 120 days (4 months); all video data is encrypted and saved locally
- Includes AC adapter, Ethernet cable, charging cable for cameras, mounting hardware, and quick-start guide
Description
Shipping details
Return details
Q: How to mount camera
A: Hi, thanks for reaching out about aosu 3K 5.0-MP Outdoor WirelessCam System Max with 2 Cameras and 4-Channel HomeBase Recorder, C6S2AH11 in White. The aosu 3K 5.0-MP Outdoor WirelessCam System Max (C6S2AH11) is designed for relatively easy DIY mounting. Here's a general guide based on aosu's typical instructions: What's Usually Included for Mounting: The camera system typically comes with: Mounting brackets Mounting screws Wall plugs (anchors) Steps to Mount Your aosu Camera: Initial Setup and Pairing (Before Mounting): Charge the cameras fully: This is crucial for optimal battery life from the start. Set up the HomeBase: Connect the HomeBase to power and your router using the provided Ethernet cable. Download the aosu app: Get the "aosu" app from your smartphone's app store (iOS or Android). Create an account or log in. Add the HomeBase: Follow the in-app instructions to scan the QR code on the HomeBase and connect it. Pair the cameras: The cameras should be pre-paired with the HomeBase by default, but if not, the app will guide you through the pairing process (usually involving pressing the SYNC button on the camera and scanning a QR code with the camera lens). Verify functionality: Ensure the cameras are showing up in the app and you can view live feeds. Choose a Good Mounting Spot: Signal Strength Test: Use the aosu app (often in Camera Settings > Mounting Guide) to test the wireless signal strength at your desired mounting locations. You want a strong signal for reliable performance. Optimal Height: aosu generally recommends mounting the camera 7-10 feet (2-3 meters) above the ground. This height helps maximize the motion sensor's detection range and deters tampering. Clear View: Ensure there are no obstructions (trees, bushes, decorations) blocking the camera's field of view. The aosu cameras often have a 166° ultra-wide-angle view, so consider what you want to capture. Avoid Direct Sunlight: Try to avoid placing the camera directly facing bright sunlight, as this can cause glare and washed-out video. Strategic Coverage: Place cameras to cover entry points (doors, windows), driveways, backyards, or other areas of concern. Mount the Camera: Tools Needed: You'll typically need an electric drill (with a 15/64" or 6mm drill bit), a hammer (for anchors), and a screwdriver. Position the Mounting Base: Hold the mounting base/bracket against the desired wall or surface and use a pencil to mark the spots where you'll drill holes. Drill Holes: Use your drill to create the holes at the marked spots. Insert Anchors (if needed): If mounting on concrete, brick, or stucco, insert the provided wall plugs (anchors) into the drilled holes. Tap them gently with a hammer until flush with the surface. Secure the Mounting Base: Use the provided screws to firmly attach the mounting base to the wall. Attach the Camera: Typically, the camera itself will either screw onto the mounting bracket, or snap securely into place on the base. Once attached, you can adjust the angle of the camera to get the best view. Final Angle Adjustment: Use the live stream in the aosu app to fine-tune the camera's viewing angle for optimal coverage. Important Considerations: Wireless Installation: These cameras are 100% wire-free, meaning no power cables are needed for operation (they are battery-powered). This offers great flexibility for placement. Battery Life: Remember these are battery-powered, so while they boast long battery life (e.g., 240 days or more based on activity), you will eventually need to recharge them using the included USB-C cable. User Manual: Always refer to the specific user manual that comes with your aosu system. It will have the most accurate and detailed instructions for your model (C6S2AH11). You can often find digital versions of manuals on the aosu support website as well. By following these steps, you should be able to effectively mount your aosu outdoor wireless cameras. If you have any additional questions, we welcome you to contact MyTGTtech at 833-848-8324 every day, between 7am-11pm CST.
submitted byJoe - 3 months agoTarget staff support
Guests also viewed

Discover more options